Our last note from Anita Z, our Star Hollow QAL leader! Thanks, Anita for inspiring us with this fun quilt!
“I hope that all who have joined the QAL have spent some enjoyable time revisiting their stash/hoard/collection, and have been able to “use what you have” to create something wonderful. I hope this project has enabled us to dip our toes into some very gentle improv with the free placement of the star triangles. And I hope that these stars have gotten us through a very gloomy winter.
Please consider sharing your quilts (tops or finished) with our Guild at twilightsimcoe@gmail.com And bring them for our Show and Tell at the April retreat!
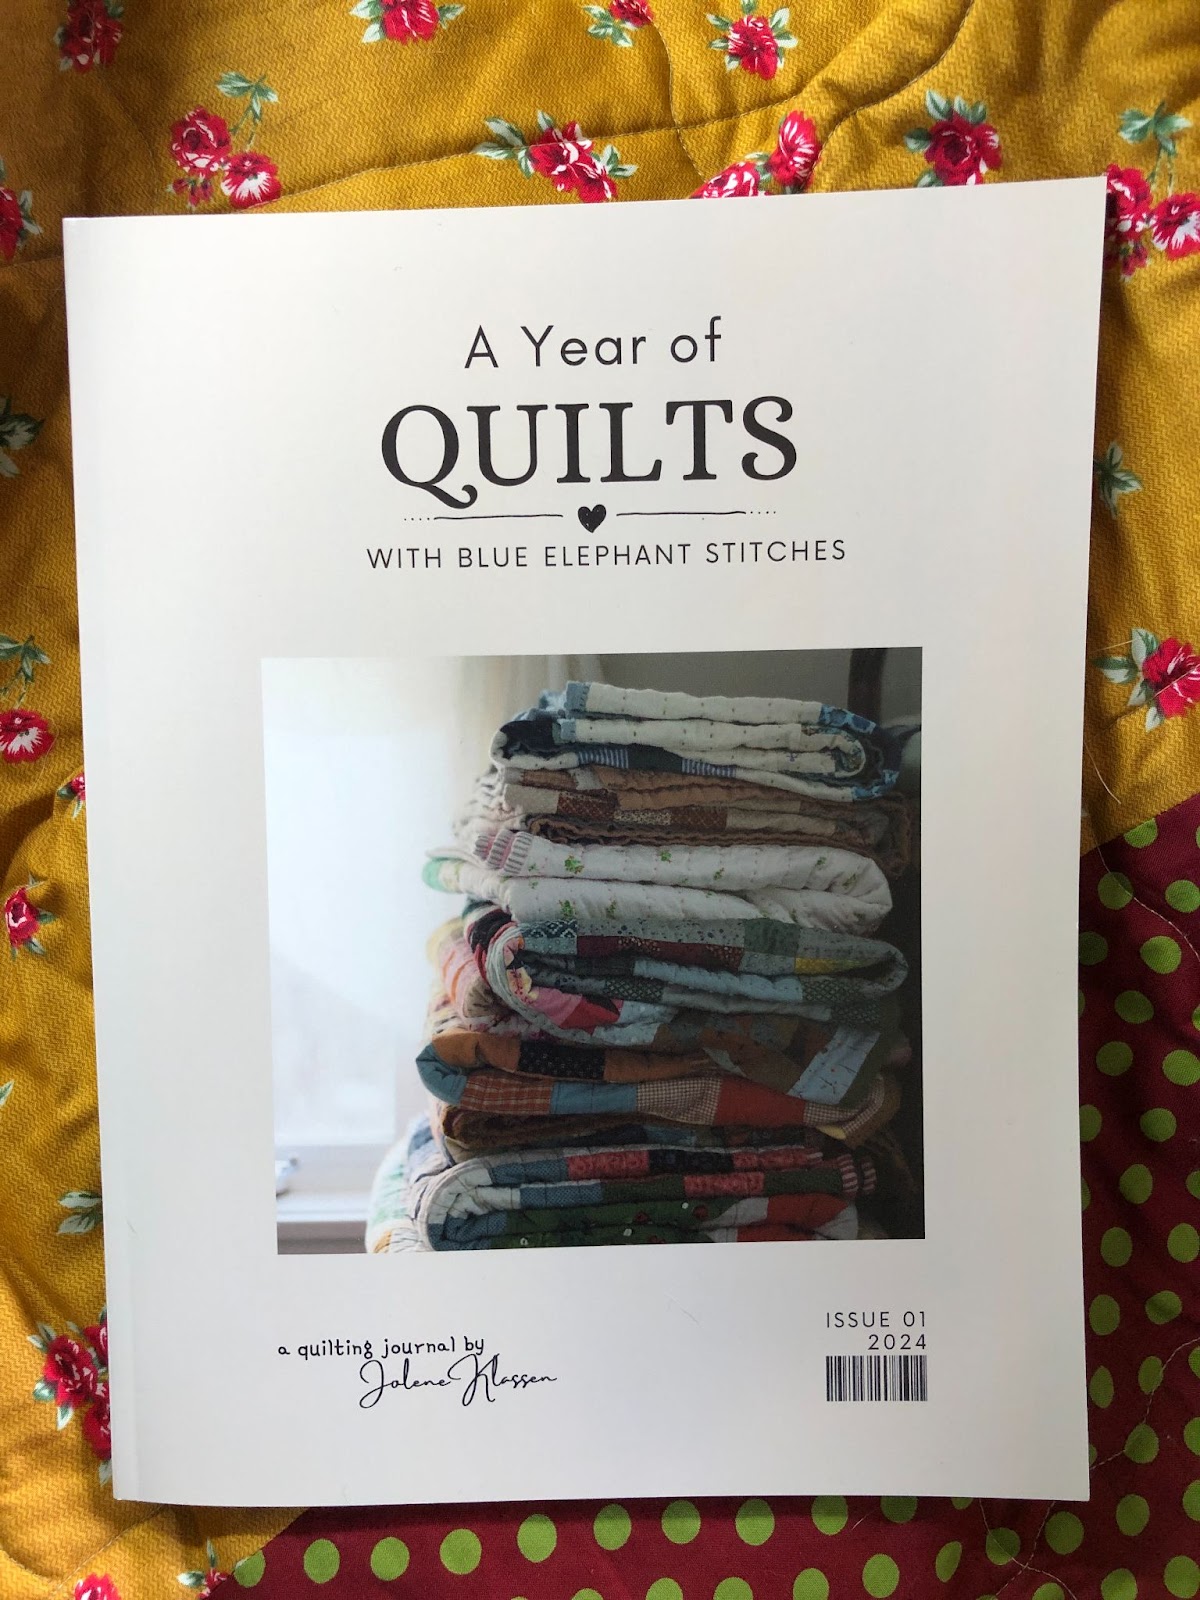
Great news if you want to delve more into Jolene Klassen’s inimitable style. She has just self-published her first book, “A Year of Quilts.” Each page (144 of them) is a visual treat (she also journals and scrapbooks, which is evident). The fonts and saturation of black ink are perfect for anyone with visual issues. Included are nine patterns and loads of inspiration – close-up photos and insights into how she chooses fabric. Reading Jolene’s book was like meeting up with a good quilting friend over a cup of coffee in the kitchen. And extra special to connect with a Canadian quilter from Alberta.
You can order “A Year of Quilts” here. When ordering, please note that this is a print-to-order system – your book is only printed after your order is received (you do have 3 hours in which to cancel or change). Ensure you’re on the CAD page – flag in the upper right corner. My total came to $63.83 (which included shipping and tax).
Added March 7, 2024: A Year of Quilts is now available on Amazon Canada. Here is the link!
Thanks to Jolene for inspiring our winter quilts! You can follow her on Instagram: @blueelephantstitches or read her blog at: https://blueelephantstitches.com/
It’s time to sew together, in person! We are repeating our popular retreat. It will be on Saturday from 9 am to 8 pm and Sunday from 9 am to 4 pm. The cost will remain at $35 for both days and $20 for either Saturday or Sunday. We will try to accommodate everyone.
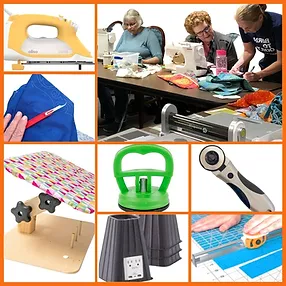
Several activities will be available:
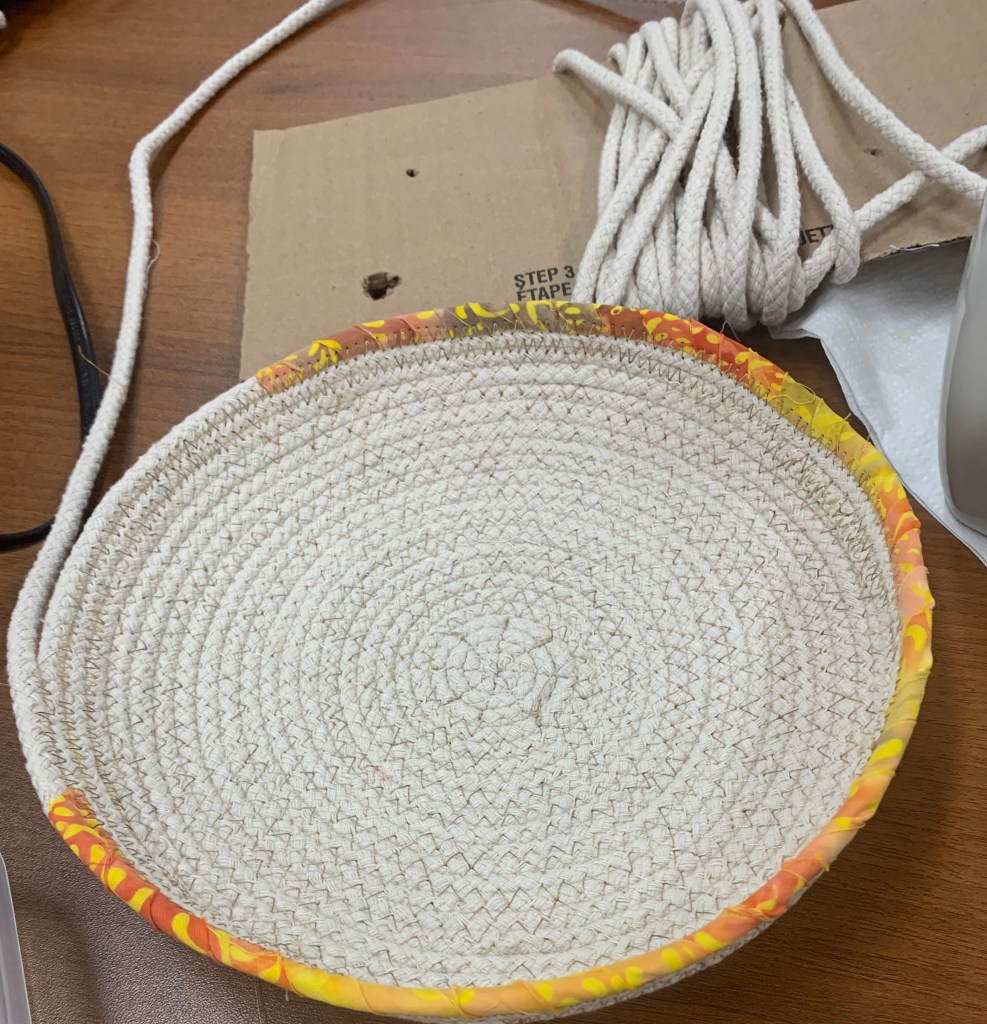
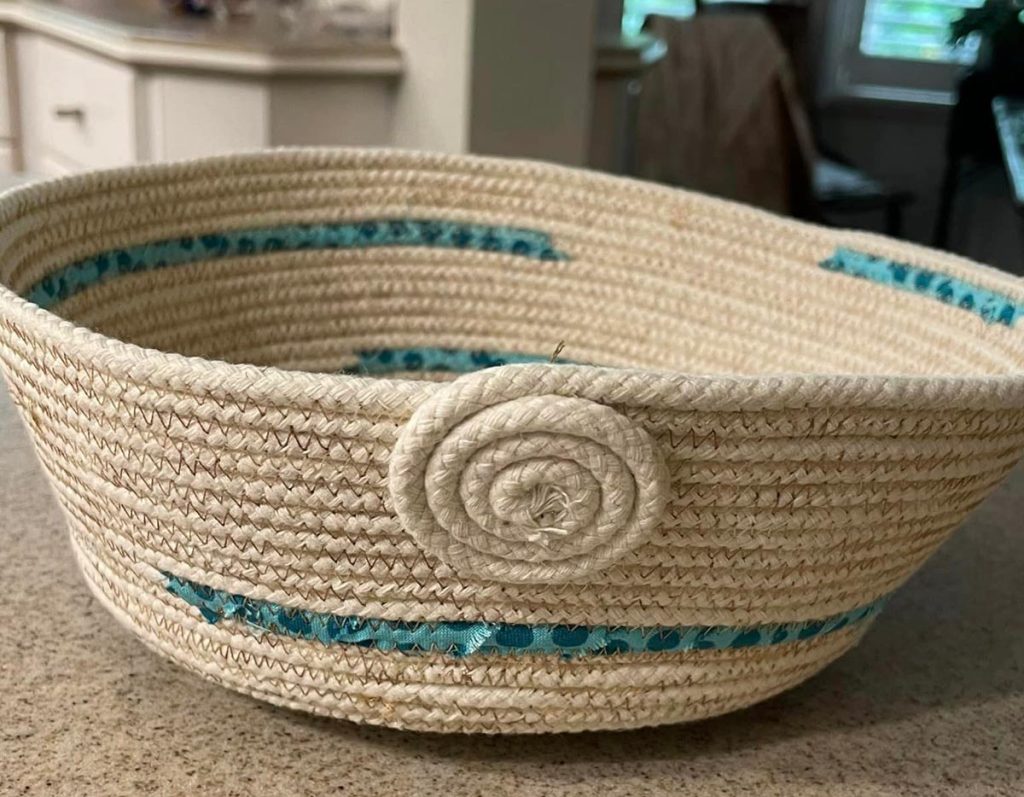
Rope Bowl demonstration by Melanie Douglas on Saturday morning.
Chair Yoga on Saturday afternoon with yoga instructor Amy Rose LaPrairie. She will be joining us to lead a chair yoga class. We all experience stiffness in our neck, back and hips after hours of sewing. Amy will lead us in gentle moves to help us stretch and relax those areas. No yoga experience is needed; you don’t need a yoga mat. We will be sitting or standing with the aid of our chairs. The class is included in the Retreat fee.
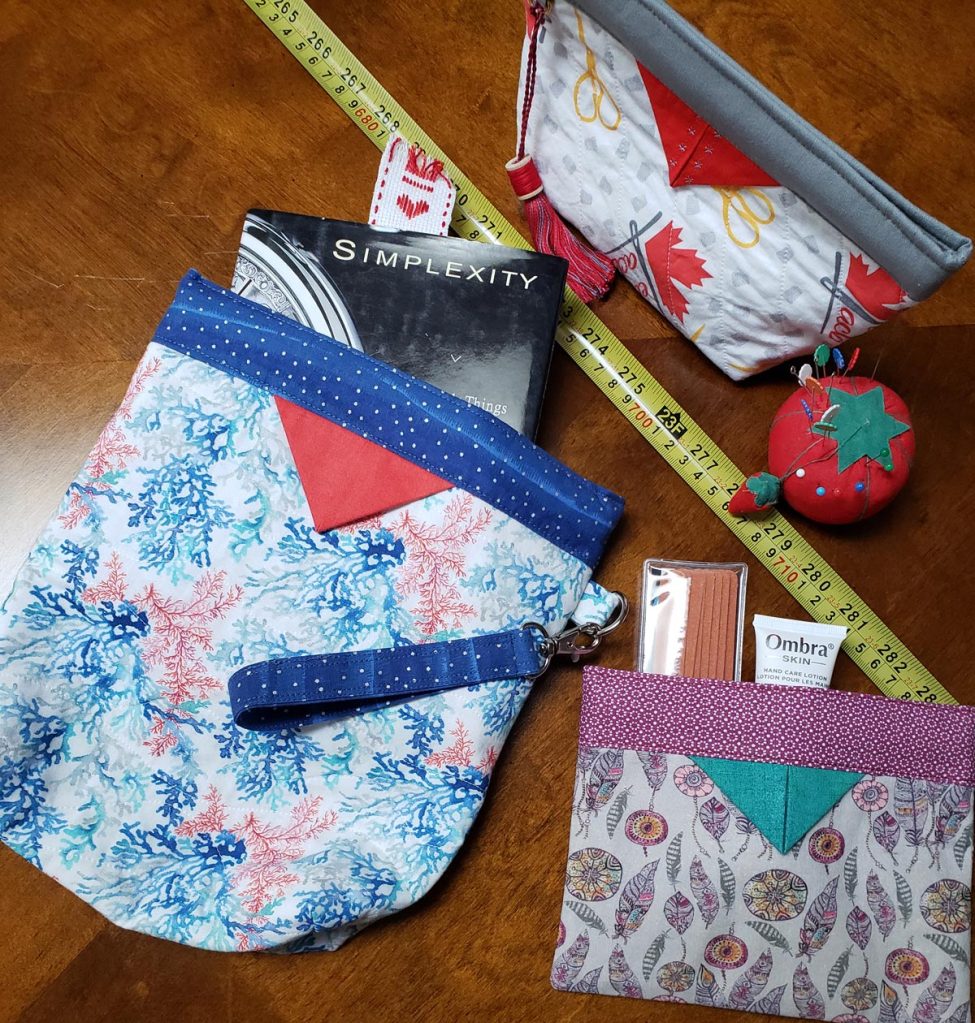
Snap Pouch demonstration by Kathryn Robicheau on Sunday morning.
Contribute to and “shop” at the Free Table.
Participate in an orphan block swap.
Bring donation quilts.
Participate in Show and Tell on Sunday afternoon.
The Saturday night Catherwood and the Kiln pizza, salads and veggie tray will be free! Ordering options will be available on Saturday afternoon.
Early in March, paid Guild members (for insurance purposes, only Twilight members can attend) will receive an email containing a link to the registration form.
Rope Bowl with Melanie DSnap Pouches with Kathryn R
Today’s quilter has so many helpful tools, gadgets, and notions to choose from. Have you ever wondered which ones are worth buying? Rose Parr has done the research and will demonstrate the pros and cons of a variety of tools to help make your sewing as ergonomic and pain-free as possible. Rose will take the guesswork out of the decision-making and save us from making useless purchases. If you ever wanted to explore a specific tool or learn how to use the one you have, this is your chance! Monday *March 11* @ 7pm Eastern via zoom. Guests are welcome. Please see the guest section of our fees page. You might even want to join our guild for $20 for the remainder of the guild year (through June)!
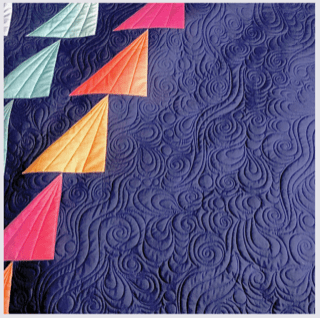
The Star Hollow Quilt by Jolene Klassen of Blue Elephant Stitches is our informal winter quilt along, spearheaded by Anita Z. Here are Anita’s notes for February!
“Have you found some forgotten treasures while digging through your fabric collection? From the photos I’ve seen, it looks like most of you are making beautiful Star Hollow blocks without buying a thing! Don’t forget to share your photos with TwilightSimcoe@gmail.com for our meeting Show and Tell.
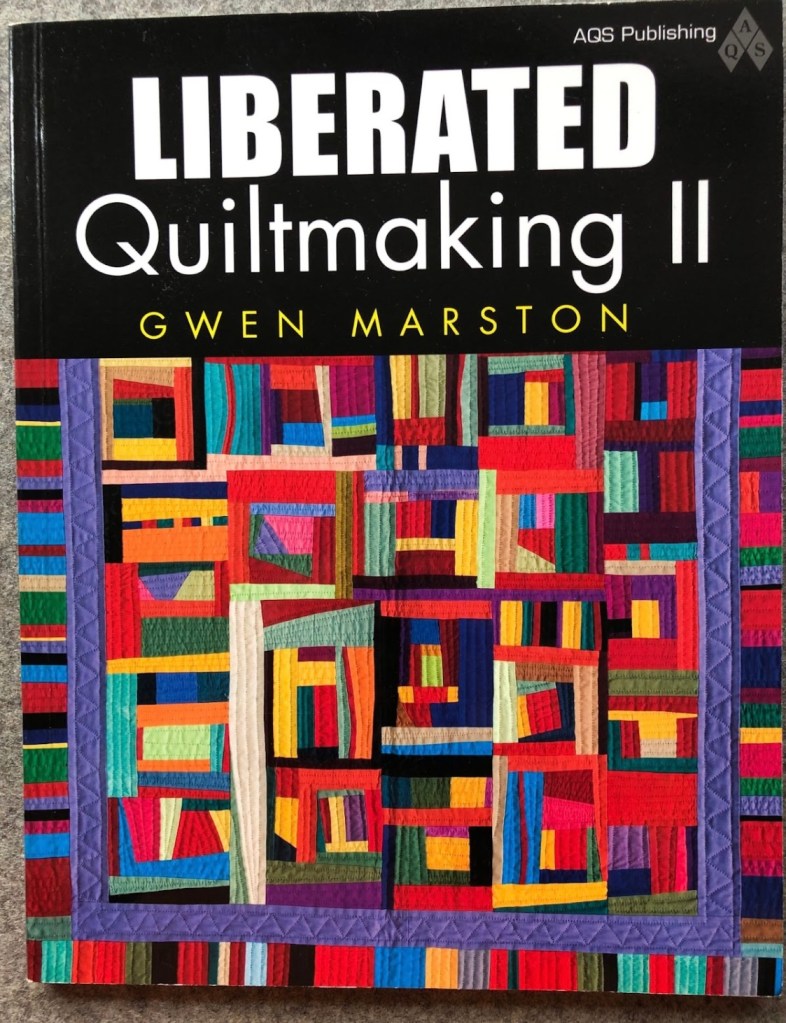
The late Gwen Marston showed us how to make these improv stars (and more!) in her 1996 book “Liberated Quiltmaking” and “Liberated Quiltmaking II” in 2010. As a starting point, she suggested cutting the base squares 3”. Then cutting the star point triangles from 3.5” – 4” squares. Working with oversized triangles provides flexibility in placement, and you are able to vary the star points in both angle and size.
Both books are no longer in print but are available on used book sites. However, American Quilter’s Society still offers Gwen’s on-demand Liberated Quiltmaking class. Almost 3 hours of video instruction for less than $50CAN.
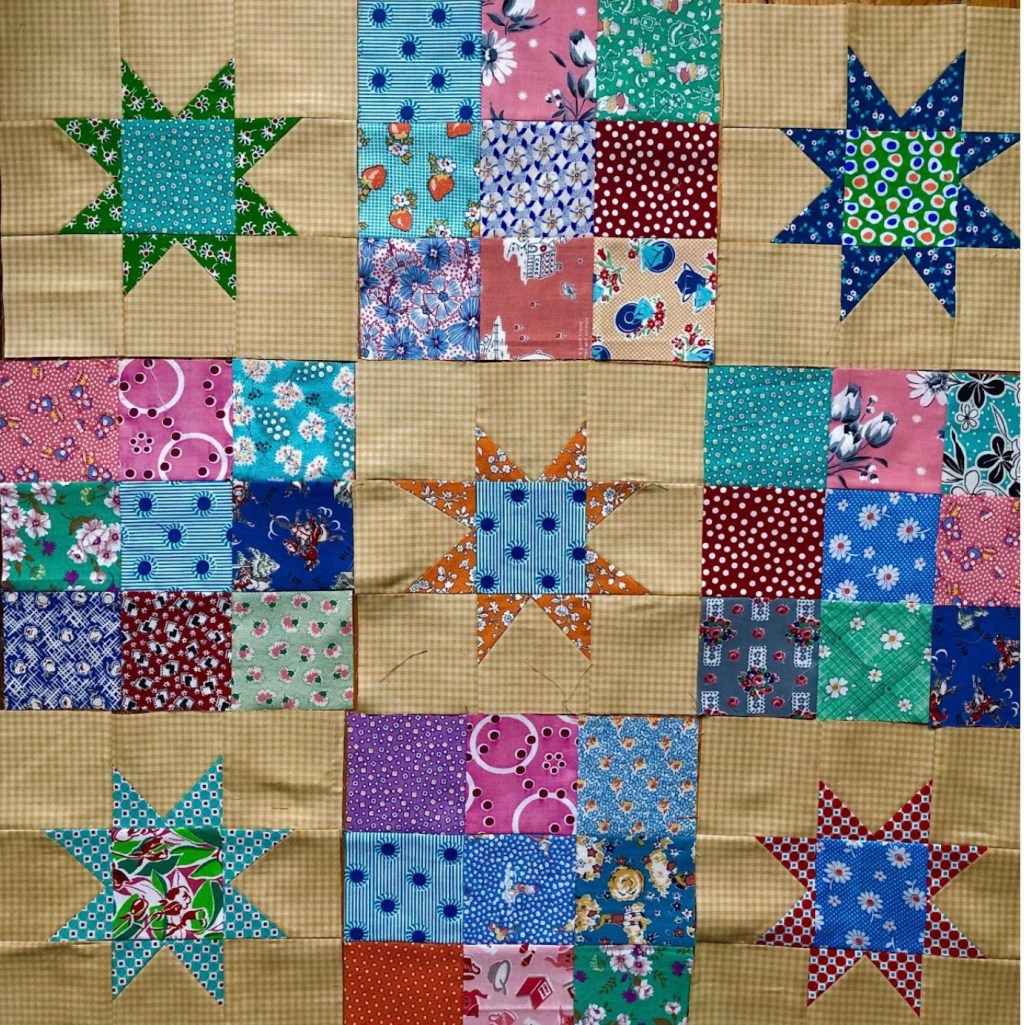
Anita’s Second Star Hollow in ’30’s Fabrics
I’ve also started a second version of Star Hollow, using setting #3 from the instructions – because I couldn’t resist the pull of my small bits of remaining 30’s fabrics. My 9 Patches are in the classic “mishmash” setting. But you could be more organized and use a traditional 4- or 5-placement position of matching fabrics in the 9 Patch that will give you a crisscross pattern throughout.
My size for this quilt was again determined by the amount of yellow background I had available. But you could also use various fabrics in one colour for a more scrappy background for your stars.
I hope you enjoy building these quilts – it’s like cooking with leftovers! And as encouragement, all completed flimsies and quilts shown at our March meeting will be entered into a draw for a $100 gift certificate for longarm services. Keep sewing!
Is the actual quilting of your quilts, even the small ones, the part of the process you enjoy least? During the pandemic, Johanna Masko came up with a method that she says “revolutionized the way I quilted my quilts “. It’s not Quilt-As-You-Go! How does she do it? Find out at our February 12th meeting. Johanna will help you get your quilts- ALL the quilts- finished! Save money and time by using her practical modular quilting techniques to complete even very large quilts, on your own, at home.
Monday February 12 @ 7pm Eastern via zoom. Guests are welcome. Please see the guest section of our fees page. You might even want to join our guild for $20 for the remainder of the guild year (through June)!
And if you’d like to get the inside scoop on Johanna’s activities you can go to her website and sign up for her newsletter, and keep up to date on the new workshops and courses she has planned for 2024.
Happy New Year everyone! What a great time to start a new project (or three)! I hope this Star Hollow quilt by Jolene Klassen of Blue Elephant Stitches inspires you to create and spend some calm winter months stitching. Let’s start now and see how far we get by the March 11th guild meeting.
Although I’ve called it a Quilt Along, there is no registration required, and there are no instructions posted weekly or deadlines to meet. Totally stress and guilt-free!
There are also no fabric requirements listed. Because this is a “build your own adventure” quilt, there are various design options and different fabric variations within them. So lots of ways to organise your colours/fabrics. My hope is that you will join me in a deep dive into your collections and use what you have on hand!
Because this star is pieced a little differently, you’ll also have a chance to work in a slightly improv manner. Your stars can be very wonky or just a little bit “natural” looking, depending on your sewing angle. Plus, your points on this star will never disappear.
Everything you need is on Jolene’s blog –the pattern and instructions are free when you register for her blog updates. The subscription form is on the right sidebar of her website: Blue Elephant Stitches
I wrote to Jolene explaining our potential project and that we would encourage our members to register for her blog updates directly and not copy or distribute material from her site. She thought this was a fun idea for the guild! In return, I would ask that if posting your progress photos on social media you use the hashtags #starhollowquilt and @blueelephantstitches so that she can see what we are creating!
Please submit your photos to Jan G. at TwilightSimcoe@gmail.com for Monthly Show and Tell – and please include your progress photos. We all love to see the journey and not just the finished quilt.
January Notes
Which pattern setting am I using? Editors Note: You will need the pattern for this to make sense!
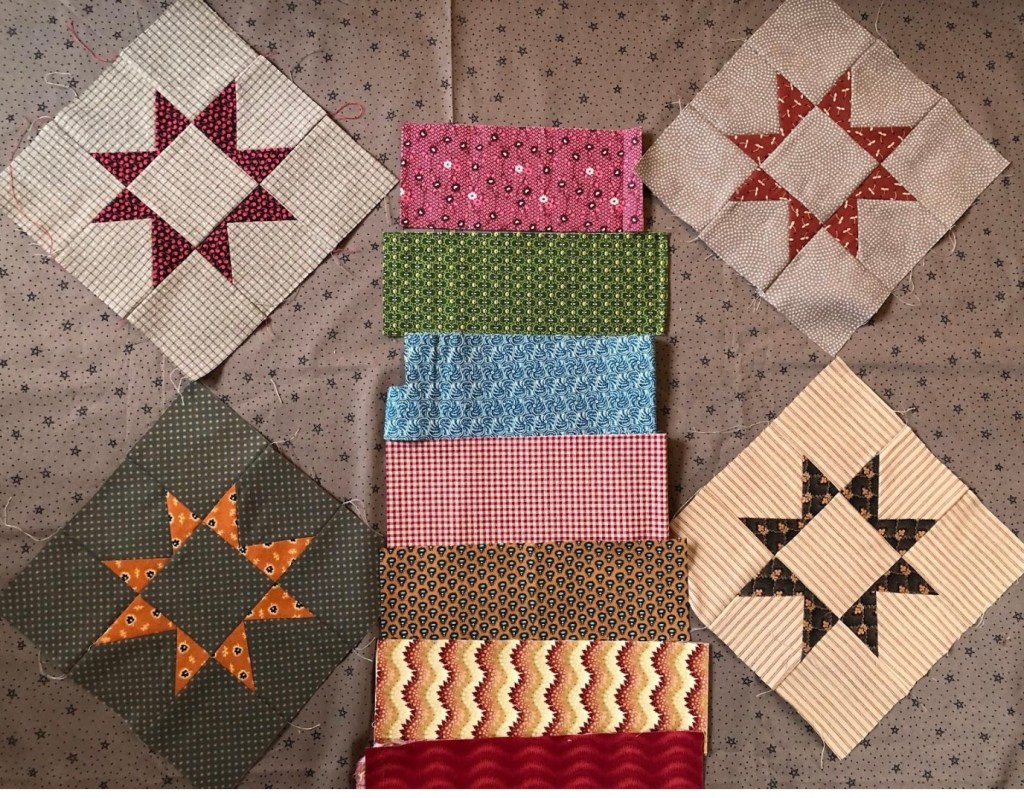
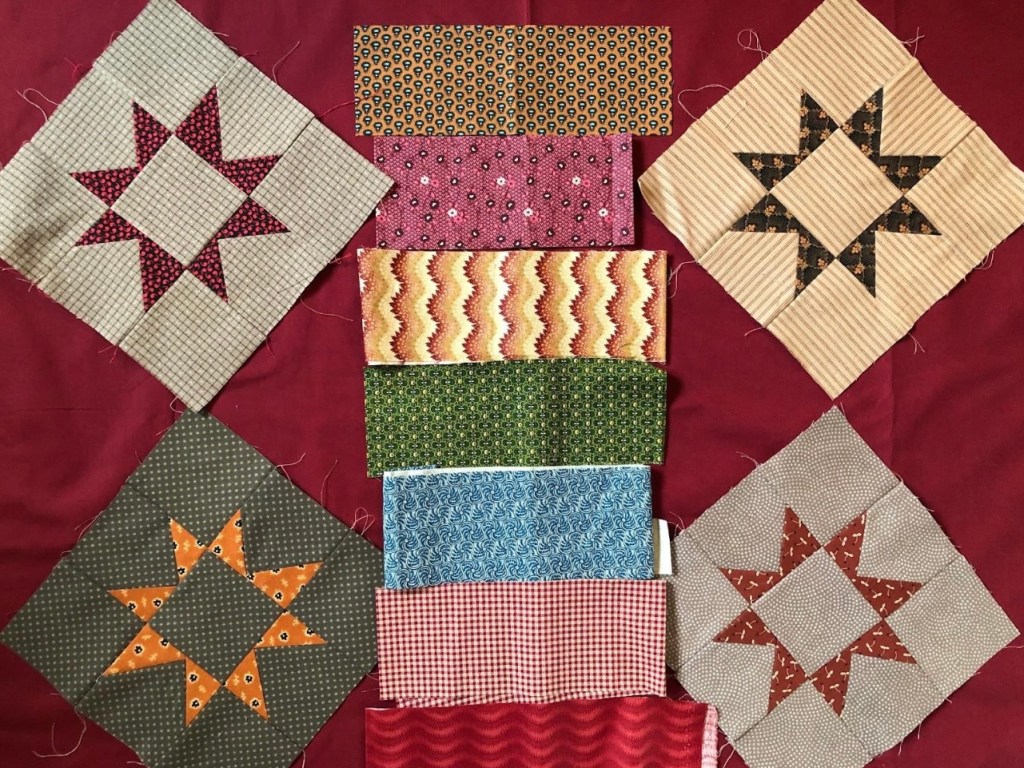
– I was immediately drawn to setting #4 since I have a box of 3.5” strips that have been sitting around for many years. I’m using 3.5 strips for the piano key bars (but they can also be 2.5” or any measurement that you prefer). The stars use 3” squares, so half of my cutting is done already!
– I decided to use a different background fabric for each star block in order to use various old taupes that I have. Each block only needs 9 – 3.5” squares. The background could also be various prints of the same colour/low volume.
– Instead of the star middle made from background fabric, you could make it from the star point fabric, or from an entirely different fabric.
– Anyone for crumb or string pieced blocks? The star middles are perfect for them!
– There are lots of options that let you use small bits of fabric!
Size of the quilt? As I am working from my stash, this is determined by the amount of fabric I have available.
What does it take to free motion quilt? Hear a free motion teacher break it all down so you know where to put your energy to improve. Christina Cameli, queen of free motion quilting, will present her talk Five Skills of Free Motion Quilting at our January meeting.
This is a great talk for people who have never free motion quilted on a domestic machine and those with some free motion experience looking to restart or expand their skills. Come get all your questions answered! Monday January 8 @ 7pm Eastern via zoom. Guests are welcome. Please see the guest section on our fees page.
Saturday, December 2, 10 a.m. to 3 p.m. Simcoe Branch NCPL, Large Board Room, Lower Level
Come for the day, or drop in anytime! The doors will open at 10 a.m., and we won’t pack up until 3 p.m. when the library closes. The easiest way to the room is to use the library door that faces the mall, and to come down those stairs right there. If you are bringing your machine, the elevator is just behind the big staircase, on the right side. This event is FREE to all members and there is no signup required. Just come anytime between 10 and 3! And bring a mug as we will have coffee and tea! And we will supply some Holiday treats!
Sew your Own Project
The large room has lots of space to set up your sewing machine. We will set up tables for anyone who wants to bring their machine and sew for the day. There will be some extension cords, but please bring your own if you have one. We’ll have one ironing board and iron to share.
Bring some handwork to socialize and chat while you make progress on your projects.
Felt Snowmen and Mittens
Join Lana for some hand stitching; no sewing machine is required! Drop in anytime; each ornament takes a couple of hours to complete.
Patterns, felt, threads and stuffing are provided, but bring your embroidery needle!
Prairie Point Demos
The demos will take place throughout the day, including making continuous prairie points from wide and medium strips of fabric and individual prairie points from cut squares and rectangles (sewn).
There will be some fabrics for sharing so you can try some techniques! Please bring your machine and the usual kit if you want to sew along.
Think Quick Gifts
Towels
You’ll need washed and dried towels (some shrink a lot!), coordinating focal fabric and scraps for prairie points, and thread for topstitching to spruce up some ready-made tea towels.
Depending on the style of prairie points, you will need a strip of fabric at least 3 ½” wide and the same width as the towel plus 2”. For two colours, you can use two strips of fabric OR be scrappy with multiple colours.
The top of the prairie points must be covered in some way. In the samples, I used fabric strips and woven trim. These should be the width of the towel plus 2”. If your towel is dark or has dark stripes, you may need a light-coloured fabric under the strip. I needed to do that with the red and white striped sample. The wintery background is light, and the red stripes show through it.
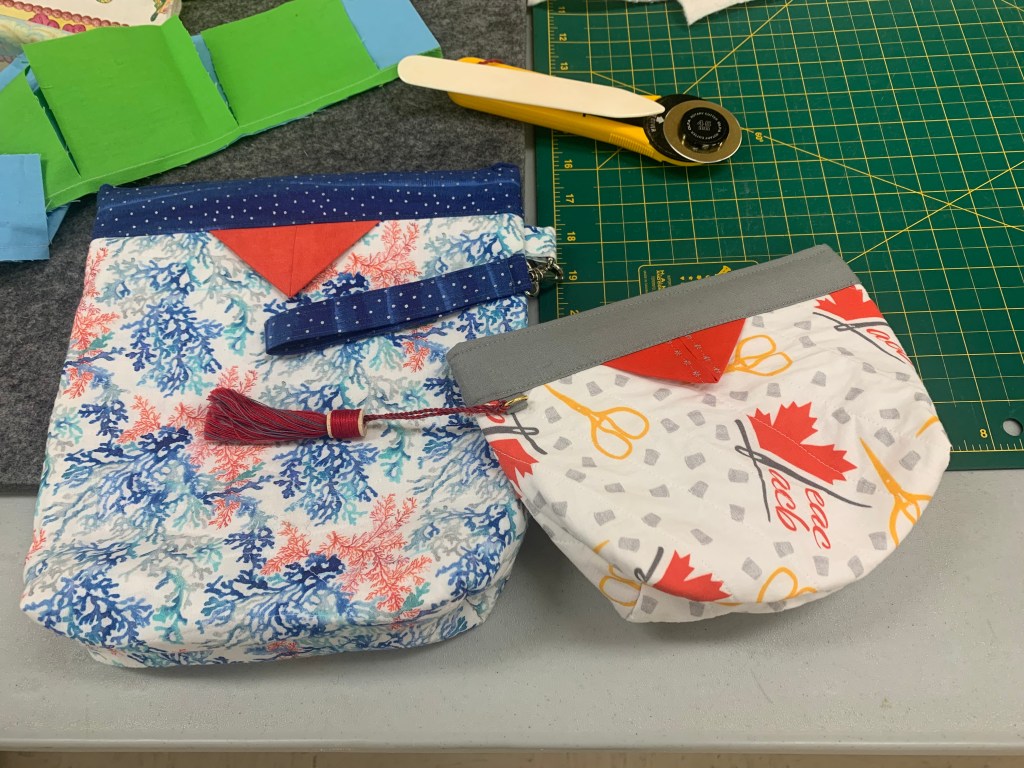
Snappy Pouch
To make a snappy pouch, you’ll need fabric, batting, medium, fusible interfacing for the outside of the bag, a coordinating fabric for the lining and top casing, a highlight fabric for the prairie points and thread for topstitching. Measuring tape, sacrifice scissors and duct tape will be provided.
I’ve found that the no raw edge technique for these snap bags means it’s difficult to top stitch if the bag is less than 6” wide. I’ve had luck with snappy closures up to 11” wide.
For this technique, the lining piece is sewn over the outer fabric by approximately 1½”. It’s best to allow extra length for the lining and trim it to size before the bag is sewn together. If you want to use an orphan block or a fussy-cut motif, make sure to add 1½” of extra batting or fabric to the top of the block.
In some of the samples, I added a D-ring for a handle or accessory and two D-rings to one of the bags for a strap. These pouches can be finished with a boxed or straight bottom.
Rope Bowl Demo
After 12 noon, Melanie D will also be there to demonstrate how to sew “Cotton Pottery” with clothesline rope. She will have a variety of bowls and baskets she has made for gifts. And the beginning of the base can be used to make some easy coasters! In this sample, she added a few fabric strips to add colour. Melanie will show both round and oval bowls.
Today’s quilters have fabulous sewing machines to choose from: machines with features such as needle down, a multitude of decorative and functional stitches including embroidery, and computer memory, among others. So why are those cute little black vintage sewing machines showing up at workshops and retreats? Why do some quilters and crafters use vintage and other mechanical machines exclusively? How do you find a vintage machine and what do you look for? Are they hard to care for?
Bonnie Blakely will answer these questions and take a brief look at the history of sewing machines and their impact on domestic life and the larger economy. There are some surprises! Join us via zoom on December 11 @ 7pm Eastern time.
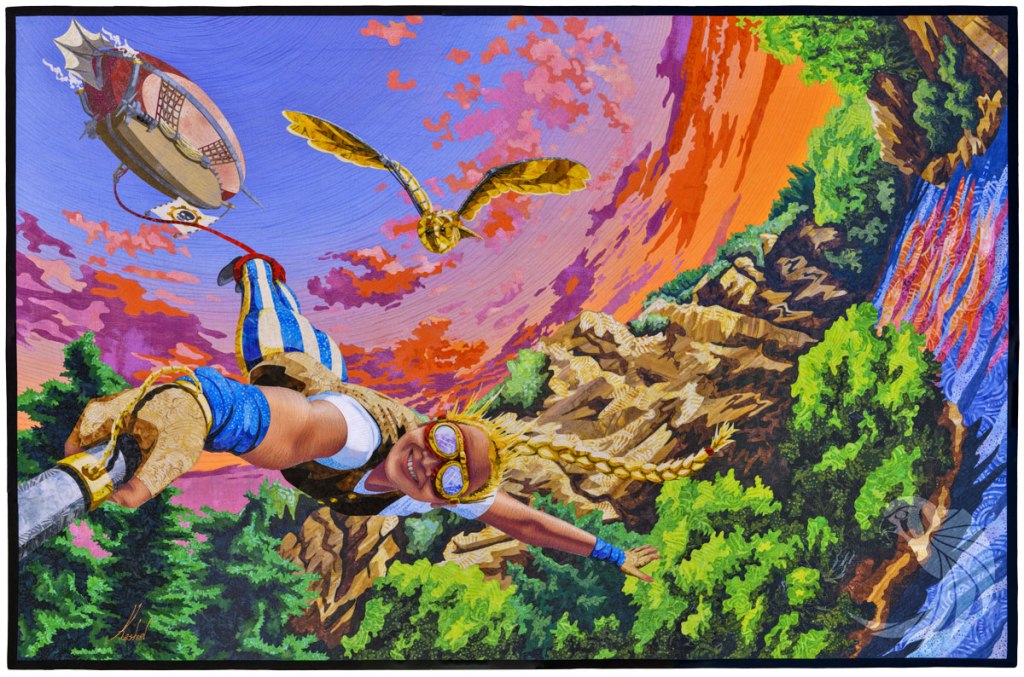
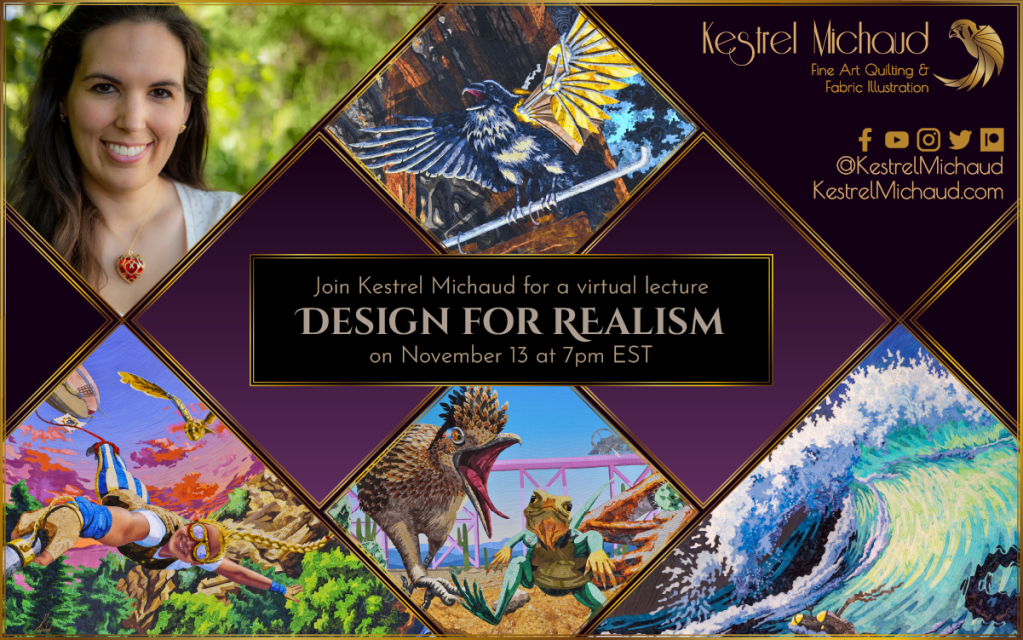
Have you ever seen a quilt that looked just like a photograph and thought “I wonder how they did that”? Or maybe you’d like to know more about how to apply good design to your quilts. If either of these scenarios speak to you, you won’t want to miss Kestrel Michaud’s presentation on November 13.
Good art starts with good design, and quilts and other fabric artwork are no exception. But because fabric is not a traditional fine art medium, art made with fabric needs to incorporate elements of traditional fine art design in its own unique way. In “Designing for Realism”, Kestrel will teach us how to incorporate the principles of good design when creating art with fabric. While her talk will focus on creating realistic pieces of art, the concepts Kestrel will discuss are relevant to fabric art of all artistic styles.
Using her own work as examples, Kestrel will teach us:
how to select and work with photographs in developing a design
the difference between colour and value, and why they both matter
how to incorporate lighting, such as how to make an object appear as though it’s sitting in direct sunlight, and how to make a grey, overcast day
how to create the illusion that objects are in the distance by mimicking the effect of the atmosphere
how to choose the best fabric colours and patterns for realism-style art quilts
how to use stitching as a complement to the design
So much good information in just 1 hour!
If you need any more encouragement to join us via zoom on November 13 @ 7pm Eastern time, just look at the design of the poster (below) that Kestrel created to promote her talk.
Guests are welcome. Please see the Guest section on our fees page.